Users
With this form the users of the Q-Case system are maintained.
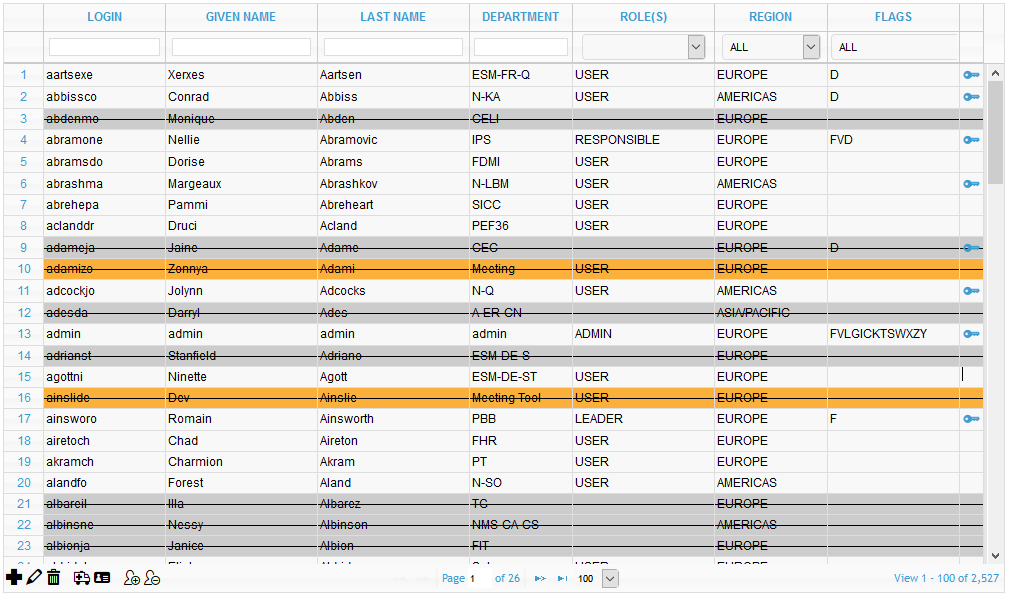
The usage of the form is similar to the material form. To delete or to edit a user the respective row of the user has to be selected and by clicking on the -icon or the -icon the respective user can be deleted or edited.
If you are using the LDAP sync function there is an additional option when importing new users to the systen. Normally you can select users t be imported but sometimes a LDAP contains also ressources like meeting rooms etc. Of course you do not want to have these type of users in the user base so you can set them to ignore - this means that these users will be imported to the user base but they are ignored in the system and they will not show up as new users during the next import. Such users are highlighted in yellow.
Similar to the material form a new user can be addad by clicking on the -icon. Like the material number the login is the unique identifier of the user and can only be entered when a new user is added - within the editing function the login can not be changed. In addition the login is checked before the user is saved and if the login is already existing an error message is issued.
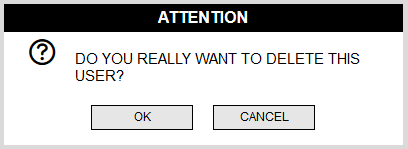
Deleting a user from the system is not really done, the user is only marked as inactive and can not be selected for new Q-cases - the user name itself is still in the system to keep the data consistency.
There are two more functions within the table - resetting the password and editing the role of the user.
Password reset
If a user has a special role he / she has to log on to the system to get the respective rights. So for some roles there is a password needed which is indicated in the users table by the -icon. To reset the password, the respective user has to be selected and by clicking on the -icon the password is reset to the defined default password of the system.
Roles
The Q-Case system uses different roles for the users in the system (how to define roles can be found in the section ROLES of this Admin-Guide).
If a new user is created he / she will get the standard role USER assigned automatically. To change the role to a different value the row of the respective user has to be selected and then the -icon has to be clicked. A pop-up window will be opened and the new role can be selected.
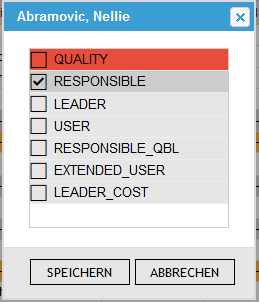
If there are no more freee licenses for a role available the respective row will be highlighted in red
If the new role requires a login and there is no password for the respective user set yet the system will automatically set the default passwort for this user.
Same ist true the other way around: if the new role does not need a login anymore, the password will be reset to nothing.
More options for administrators
If you are logged in as administrator, there are more options available for you.
1) First of all you can additionally select the role admin from the role selection menu and assign it to any user
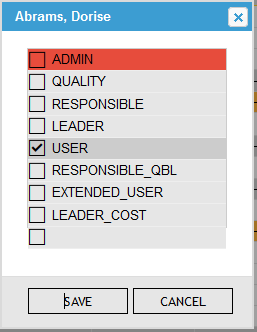
This is done to prevent “non”-admins to assign themselves the admin role
2) The administrator can also change the login (which is the unique identifier of users). To do so just select the row of the respectibe user and click on the -icon
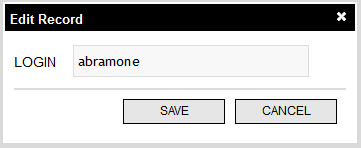
Since the login is unique, the system will check before saving if the new is already used and if yes issue an error message.
3) The administrator can completely erase a user from the system
Clicking on the -icon will ultimatively delete the user from the system.
This option can only be used after the user is deleted from the system (so the active flag must be unset - see chapter before).
